Observatory
HomeImagesEquipmentTechniquesBooksTipsLinks

Telescopes  Observatory  Setting Circles  Guiding  Imaging  Miscellaneous

In 2010 I completed the construction of a slide off roof observatory.  The design was my own as I needed something that would look as close to my house as possible to gain planning permission from my HOA.  The observatory dimensions are 8ftx8ft and the walls are 6ft high.  I decided to build a novel roof design.  This consisted of two 8x4ft panels that slid off onto runners that were retracted when not in use so as to make the whole construction look like a standard shed.  To cover the point where the two panels met I constructed a 1ft wide removable section.  I documented photographed the construction as I went along so you can see how it was built.  You can click on each picture to see what it full size:


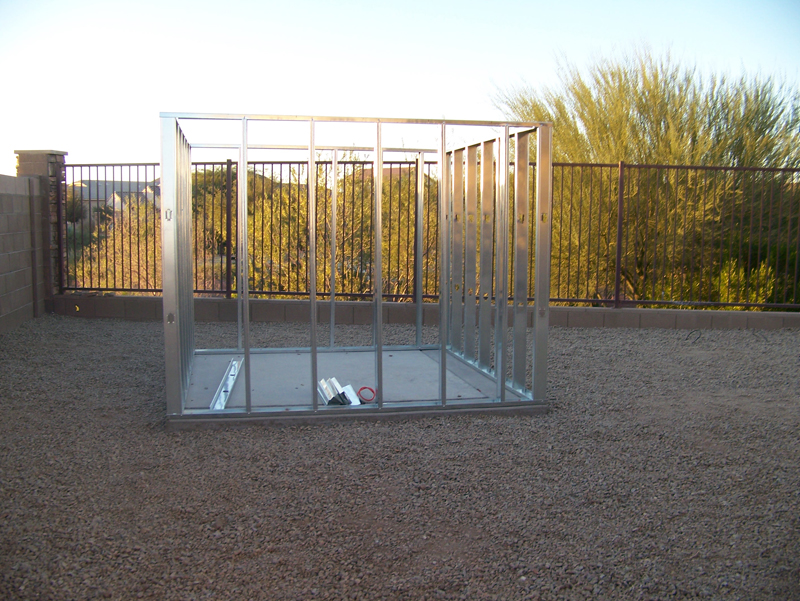
Step 1:  An 8x8ft 4 inch thick concrete base was laid down and metal joists nailed to it to support the walls 
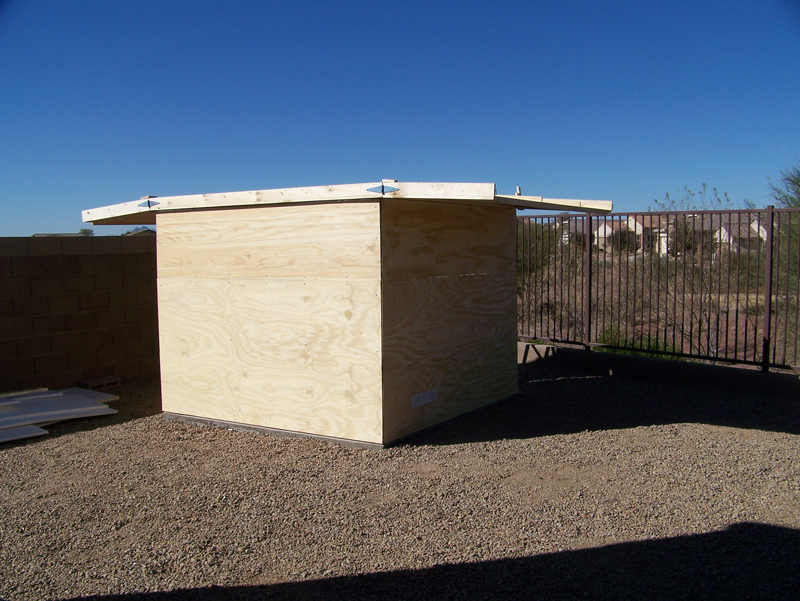
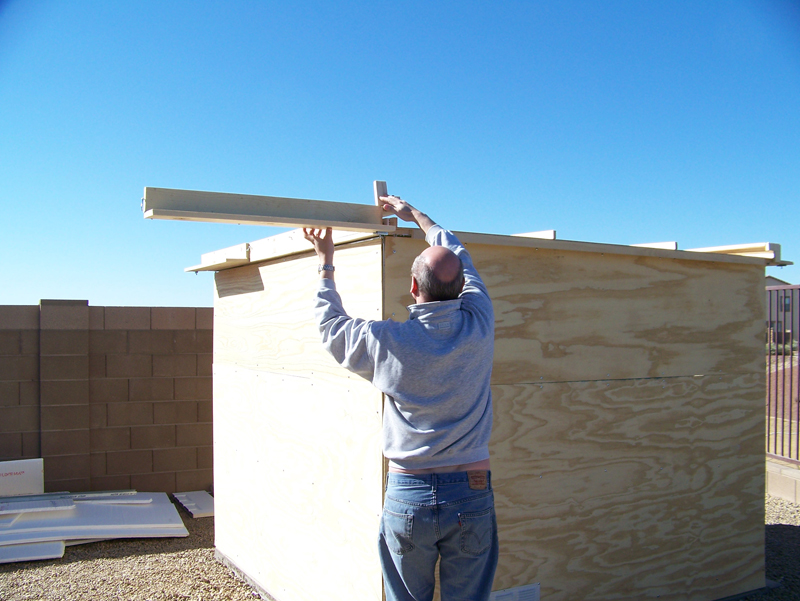
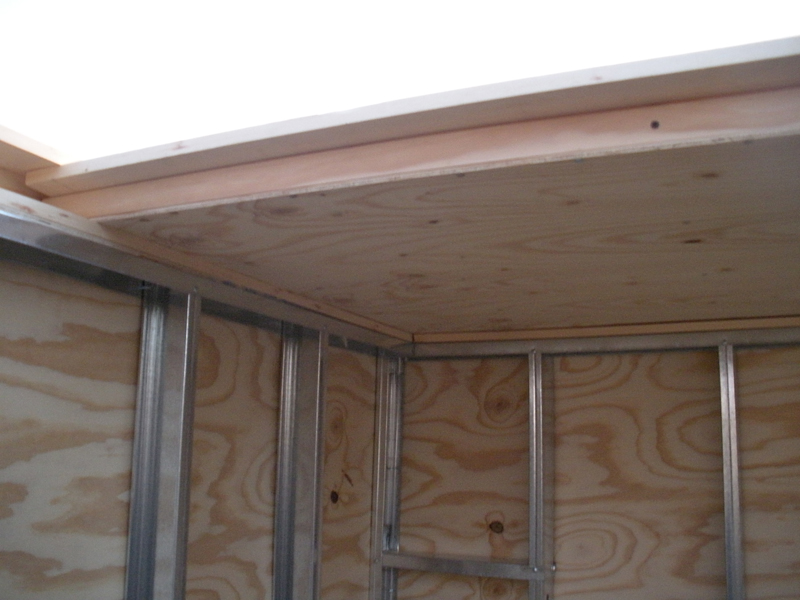
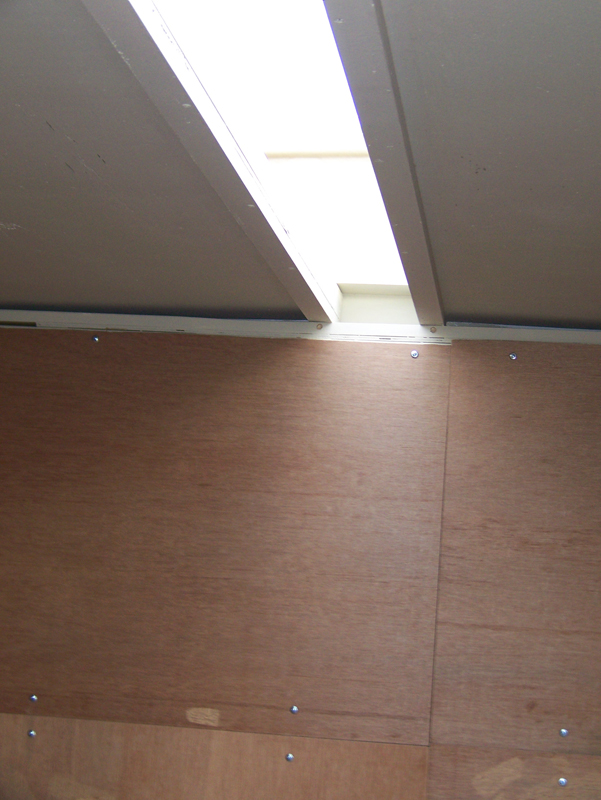
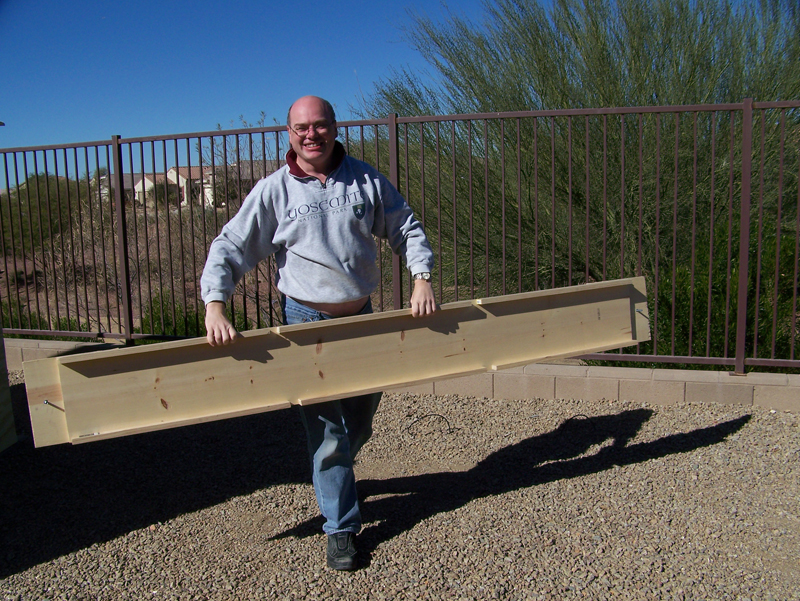
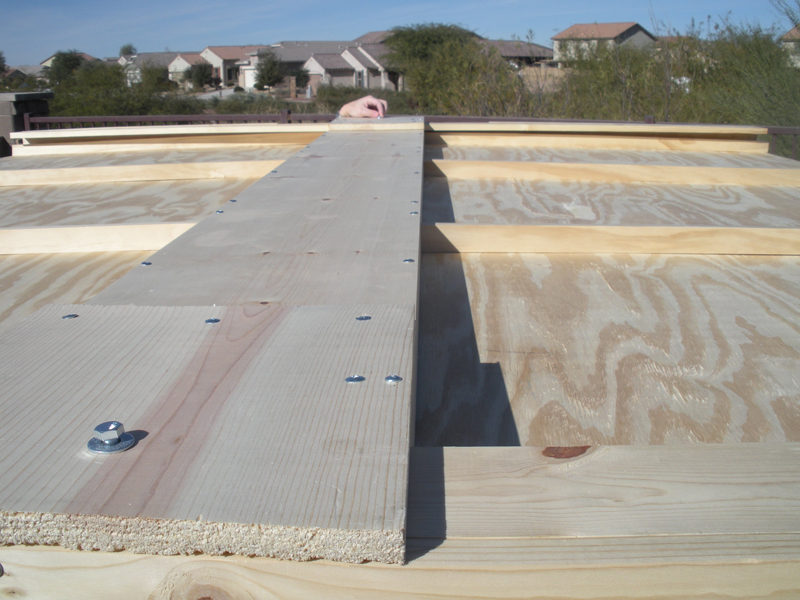
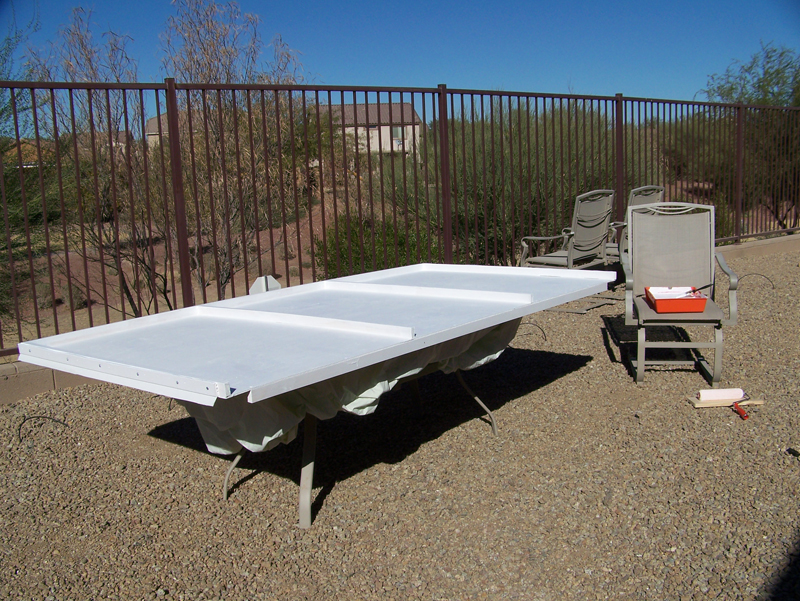
Step 2: Plywood was attached to the metal joists both inside and out to form the walls and then the roof and runners were added (more details below) 
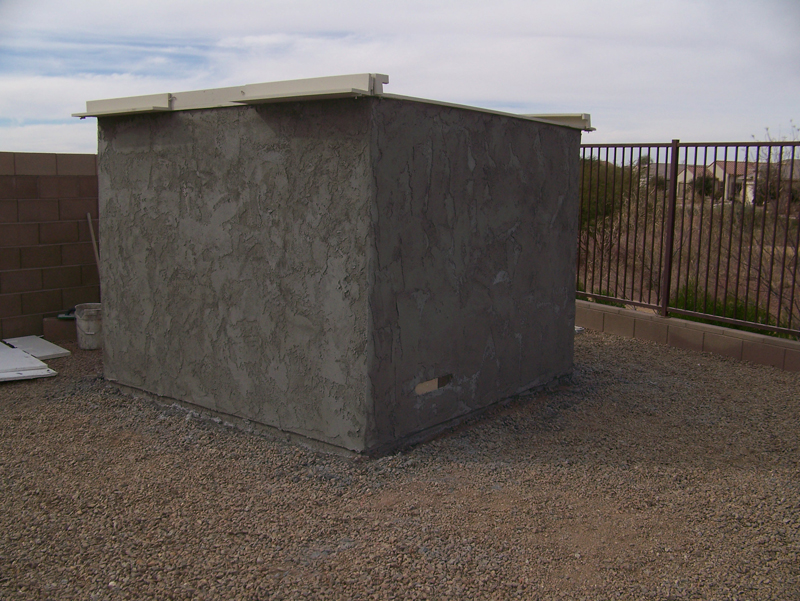
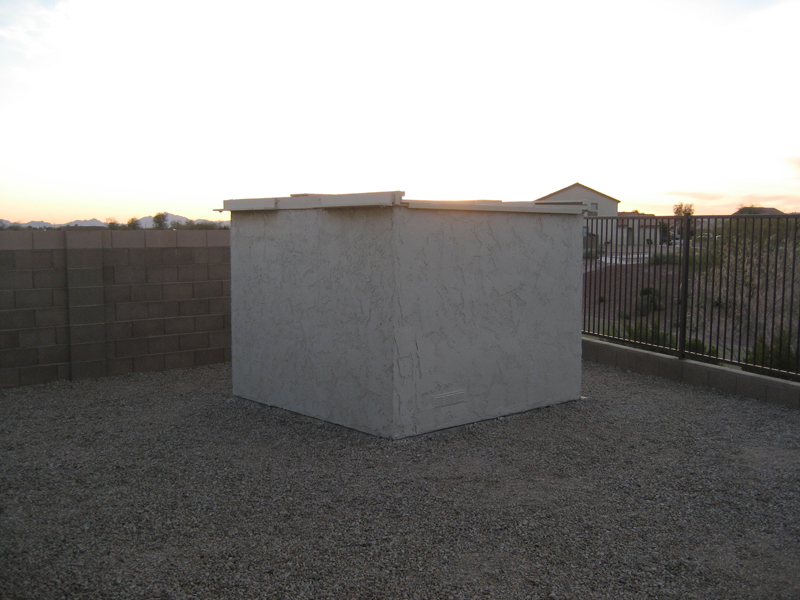
Step 3: Stucco was applied to the walls to match the house
Step 4:  Stucco was painted to match the house Runners:  They fold back when not in use so the building just looks like a normal shed. Roof Panels: They slide off onto the runners once they are folded out
Roof Panels:  One panel fully pushed in Roof Panels: Both panels fully pushed in with the central segment removed Central segment:  This sits over the two roof panels to make the structure water tight
Central segment: In place covering the ends of the two roof panels to make a watertight seal Roof Panels: A single roof panel being painted.  Each panel is an 8x4ft piece of plywood with 2x1s attached for support. Telescope: on its pier with the roof removed ready to go!