|
It is possible to produce color images with a monochrome CCD camera. The
process involves taking three separate images of the same object, one through a red
filter, one through a green filter and one through a blue filter. With suitable
software these images can be combined to produce a single color image of the
object, often referred to as an RGB image.
In order to do color imaging you need a set of red, green and blue filters, an infra-red blocking
filter, and a means of placing these filters in the optical path ahead of the camera in
such a way that you can change filters without attaching/detaching the camera or altering
the telescope focus. With the MX516
CCD Camera I used the True Technology
Colour Filter Set. To place the filters in front of the camera I used the
True Technology Flip Mirror Finder. This finder has a slot in front of the adjustable mirror where you
can insert and remove the red, green and blue filters very easily without disturbing the
rest of the telescope set-up. With the SBIG
ST-7E, ST-2000XM I use SBIG color filters housed in the SBIG
CFW8 filter wheel which is attached directly in front of the camera.
When focusing the CCD camera for
color imaging
it is important to realize that the filter thickness can alter the focal position of the
telescope. If you focused the camera without a red, green or blue filter in place
you would find that any images taken when one of these filters was in place would be
slightly out of focus. However, focusing through one of the red, green or blue
filters is not ideal as they cut down the amount of light received by the
CCD. To
get around this, the True Technology and SBIG filter sets come with a clear glass filter that is
the same thickness as the red, green and blue filters. You should focus the camera
with this filter in place.
With the True Technology filters, an infra-red blocking filter needs to be in front of the camera during the entire
imaging session. This filter is required because CCD cameras are very sensitive to
infra-red emissions. Without the infra-red filter in place to block these emissions
the final image will lose its true color characteristics and appear too red. The
T-thread adapter used to attach the camera to the flip mirror finder has a mounting for
the infra-red filter. This allows you to put the filter in place at the start of the
imaging session and forget about it, leaving the filter slot in the finder free for you to
insert and remove the red, green and blue filters.
The SBIG red, green and blue filters contain an IR blocking coating which
means that a separate IR filter is not required.
CCD cameras are not equally sensitive to each of the red, green and blue wavelengths.
To compensate for this, you will need to combine different length exposure will normally be required for
each of the red, green and blue images. Because each camera and filter set-up is
different, you will need to perform a one-time calibration of your filters to determine
the relative exposure durations before you take your first RGB image.
To calibrate your filters you need to take an image of a uniformly illuminated white or
grey target through each of the red, green and blue filters. Fortunately, nature
provides such a target in the moon! Take an image through each filter (with the
infra red filter in place) of a smooth area of grey lunar mare using the same exposure
duration each time. Subtract the relevant
dark
frame from each image. Now calculate the average brightness for each image over
a 5x5 pixel area of the mare. Divide the average brightness of each image by the
average brightness of the red image. Take the inverse of these numbers to give the
exposure length of the green and blue images relative to the red image. For example,
suppose the relative brightness of the red, green and blue images was 8000, 4000 and 2000
respectively. Dividing each number by that of the red image would give 1, 0.5, 0.25.
Taking the inverse of the numbers would give 1, 2, 4. So, to get a true
colour image when taking a red exposure of say 10 minutes would require a green exposure
of 20 minutes and a blue exposure of 40 minutes. I have calibrated my True
Technology Colour Filters with my MX5 camera and got an R:G:B ratio of 1 : 0.63 : 0.78
(i.e. a red exposure of 100 minutes requires a green exposure of 63 minutes and a blue
exposure of 78 minutes). I must say that this was a surprise as most CCD cameras are
much more sensitive to red than blue or green. However, colour balancing I have done
on RGB images to date seem to bear out that this is the correct ratio.
The R:G:B ratio for the SBIG ST-7E used with the SBIG filters is 1:1:2.
How long should your red exposure be? For a discussion on exposure lengths see Taking the Image. However, because
each colour filter blocks about two thirds of the 'white' light passing
through it and the IR light has been blocked by the IR filter, you can
expect the red image to take at least 3 times as long as an unfiltered
image.
Another technique is to use the same exposure length for the red,
green and blue images and then stretch each image to a different extent
when combining them. This is the technique I use with my ST-2000XM
camera and SBIG filters. The
Image Plus and CCD Stack processing
software allows you to scale each image as it does the RGB combine.
For my ST-2000XM camera/filter combination I have found that a RGB ratio of 2.3,
1.0, 1.7 respectively produces a true colour image. For the
STL-11000M it is 1.1, 1.0, 1.2
Once you have calibrated, aligned and combined the red, green and blue images
into a single color image you can use Photoshop to enhance it.
As an example, here are images of Jupiter taken through red,
green and blue filters. Each image is an average of four images
taken through the same filter. Averaging the images improves the
signal to noise ratio and allows more detail to be extracted during
processing. Exposures through the red and green filters were 0.1s and
exposures through the blue filter 0.2s.
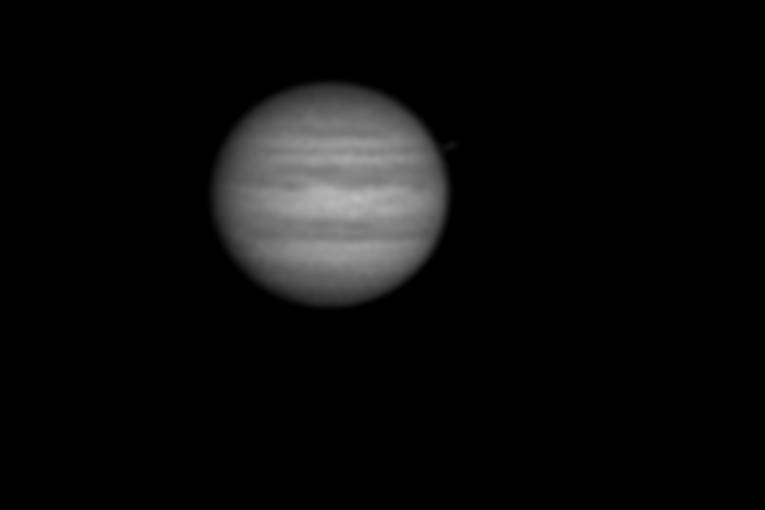


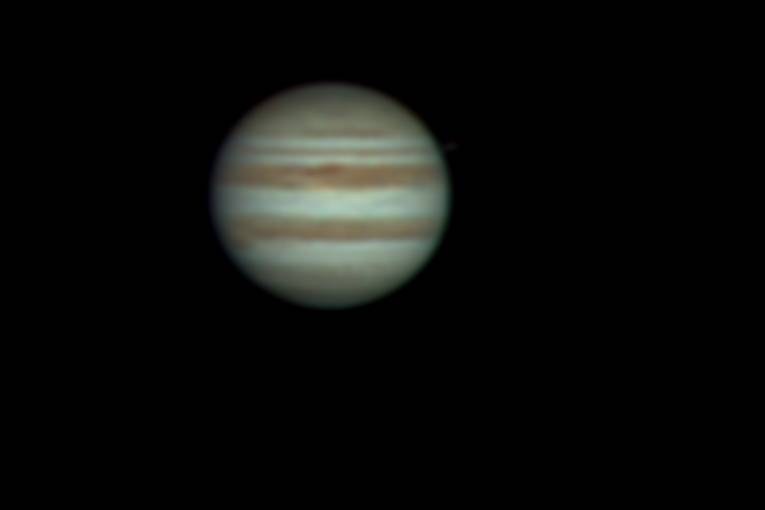
These are then aligned and combined to form a single RGB colour image
For deepsky objects, the total exposure time for an RGB colour image is
very long.
You require three images and each image will need an exposure at least
three times as long as a monochrome equivalent. Fortunately there is
a technique known as LRGB imaging that can dramatically reduce the
total exposure time required. LRGB imaging works on the principle
that the eye is more sensitive to brightness variations than it is to
color variations. In an LRGB image the detail of the image is
provided by a Luminance image (a standard monochrome CCD image) and
the color is provided by a standard RGB image. The trick is that
the RGB image can be taken at a low resolution (i.e. using binning on the
CCD camera) because the detail will be provided by the Luminance
image. Because the red, green and blue images can be taken using
binning on the CCD camera, the exposure time for these images can be much
lower than if they were taken at full resolution.
Let's study an example where a normal
monochrome image requires a 15 minute exposure at full resolution (i.e. no
binning). To get an RGB color image of equal quality would require three
full resolution images taken through red, green and blue filters.
Each filtered image would need to be at least three times as long as the
monochrome image. That would lead to a total exposure time of 3x3x15
= 135 minutes. However, with the LRGB technique we can use our
monochrome image to provide the detail for the color image. This
means that we can take the Red, Green and Blue images at a lower
resolution (e.g. 3x3 binning) and then resize the images to full
resolution. The resized red, green and blue images will lack
resolution, but when combined with the full resolution monochrome image
that will not be noticed. 3x3 binning reduces the exposure duration
by a factor of 9 over an unbinned exposure. So, with 3x3 binning the
red, green and blue images will actually take a third of the time of the
monochrome image. So the total exposure time required for the LRGB
image is 15+5+5+5= 30 minutes. This represents a saving of over an
hour for virtually no loss in the clarity of the final image! As an example of this approach lets look at
the image processing performed for the LRGB image of M42.
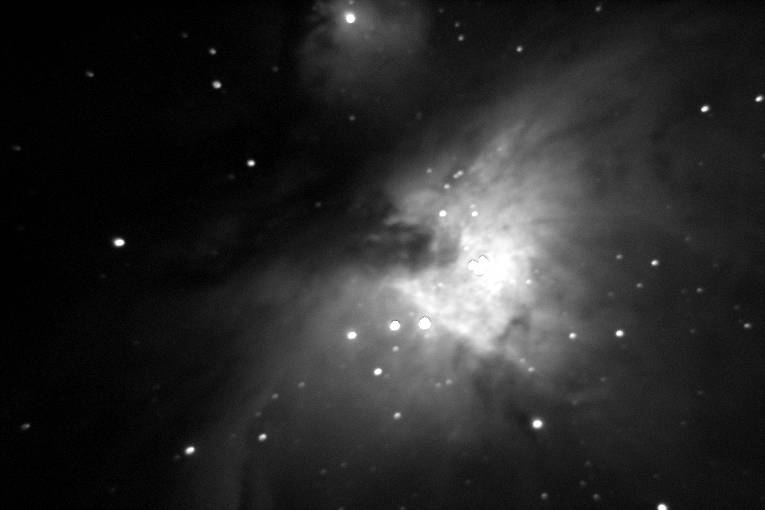
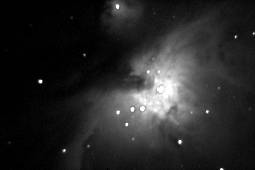
Below is the Luminance Image. This is a 30 second processed
exposure taken through a clear filter at the full resolution of the
camera (1x1 binning).
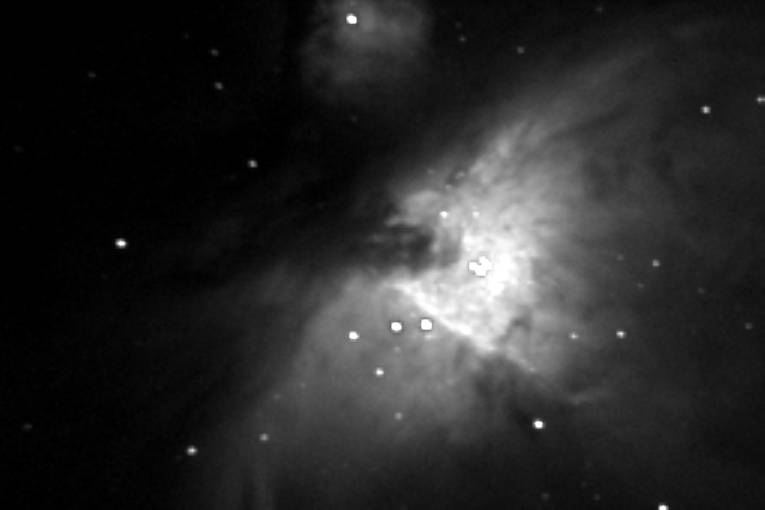
Below
are processed images taken through red, green and blue filters.
Exposures were 15, 15 and 30 seconds taken at 3x3 binning. Without
3x3 binning these exposures would have been 9 times longer.

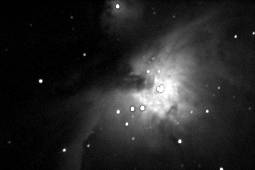
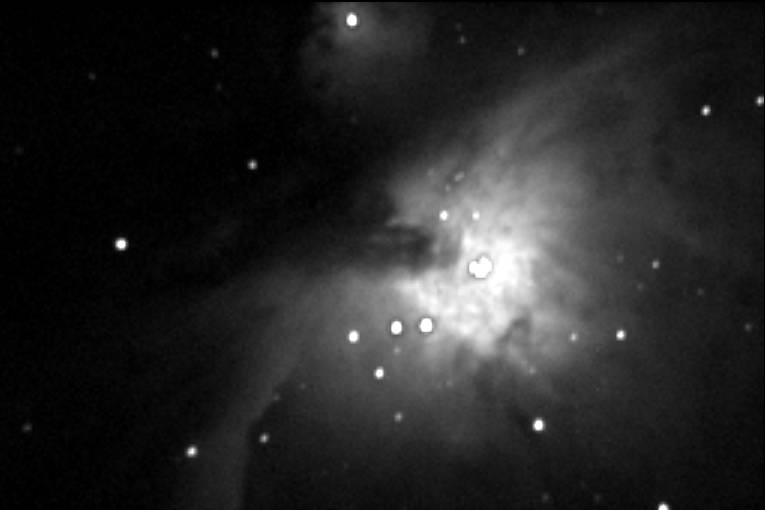
The
above images resized to the same size as the Luminance image. Note
that there is not as much detail visible.
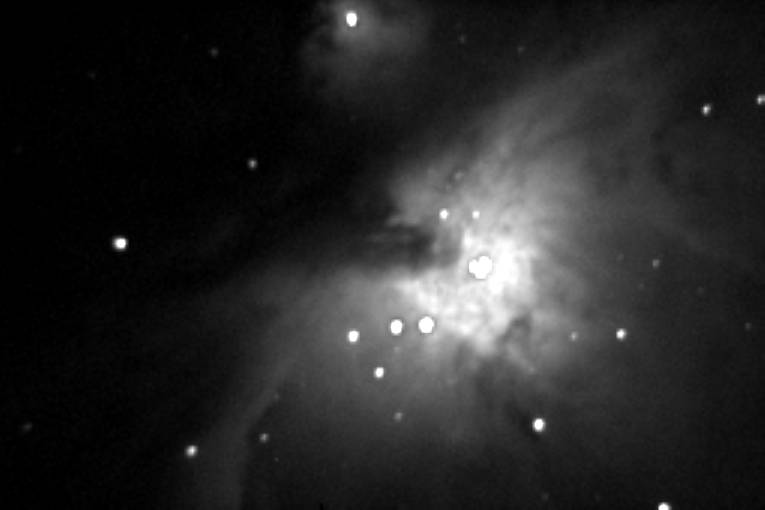
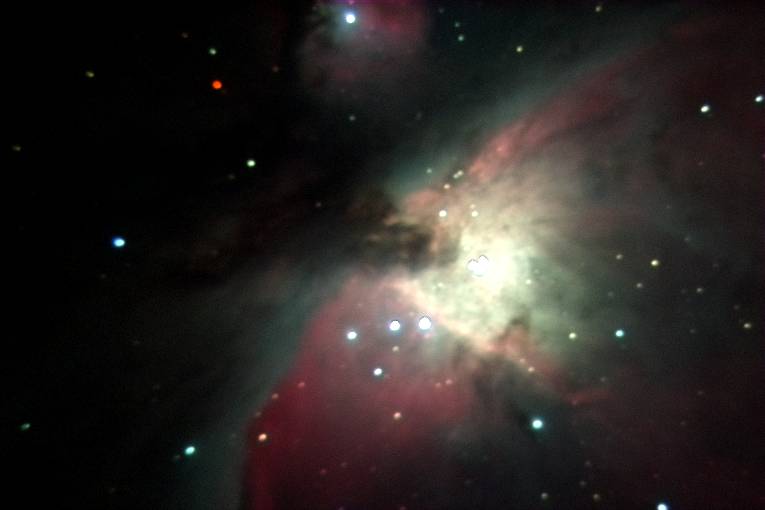
The
above images are combined with the Luminance image to produce a single
LRGB colour image. Note how there is as much detail in the LRGB
image as the Luminance image.
Image
processing applications such as Adobe Photoshop allow you to produce LRGB images. |
